Hello! Thank you for joining us for this new tutorial.
Today, I’ll show you how to make a locked splice on Single Dyneema Braids.
Why use this technique?
Perfectly suited for medium load applications. It offers better breaking strength than a knot.
Unlike a simple splice, it doesn't require whipping to hold.
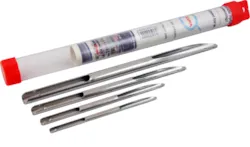
You’ll need:
· A measuring tape
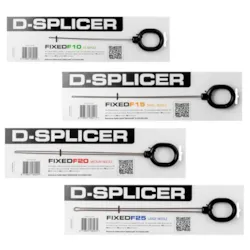
· A hollow fid
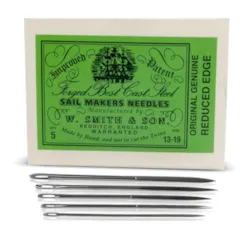
· Dyneema scissors
· A black marker or a white correction pen (depending on the color of your braid)
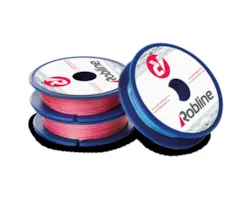
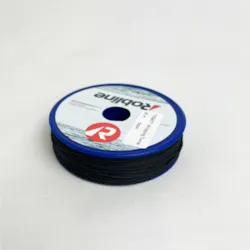
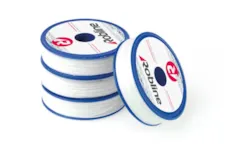
· Dyneema single braids
Steps:
1. Fold the Dyneema rope back over a length equal to 800x the rope diameter, beyond your desired loop size. Mark the position of the tail on the opposite strand.
2. Mark the junction point of the loop on both strands.
3. At this mark, pass the tail strand through the main strand.
4. Pull it through until you reach the first mark.
5. Now, insert the main strand into the tail strand at the position of the first mark.
6. Tighten the loop, bringing both strands together until the two junction marks align and the strands snug up against each other.
7. Insert the fid under the main strand, starting just after the crossover point, and exit at the second mark.
8. Pull out only 50% of the tail strand, then taper the braid gradually by pulling out strands to finish to a point.
9. Pull the entire tail inside the main strand until it disappears fully.
10. Pre-tension the loop using a winch to secure the splice.